Flooring Removal
CALL US TODAY! 904-657-6815
Hiring Surface Removal Systems offers you several advantages that can make the process smoother, safer, and more efficient. Here are some reasons why you should consider hiring us as your flooring removal professional:
- Expertise and Experience: As flooring removal professionals we are trained and experienced in handling various types of flooring materials, adhesives, and subfloors. Our expertise allows us to assess the best approach for removing your specific type of flooring without causing unnecessary damage to the subfloor or the surrounding areas.
- Efficiency: As professionals we have the right tools and equipment to efficiently remove flooring materials. We can complete the job much faster than if you were to do it yourself, saving you time and effort.
- Safety: Flooring removal can be physically demanding and potentially hazardous, especially if you're dealing with old flooring that might contain asbestos or other harmful materials. Professionals are trained to follow safety protocols, use protective gear, and minimize risks associated with dust, debris, and potential exposure to hazardous materials.
- Proper Disposal: Depending on the type of flooring material being removed, there may be specific disposal requirements. We as flooring removal professionals are knowledgeable about proper disposal methods, ensuring that waste is disposed of in an environmentally responsible manner.
- Minimized Damage: Incorrect flooring removal techniques can lead to damage to the subfloor, walls, or other structural elements. Professionals know how to minimize such damage, potentially saving you from costly repairs in the future.
- Preparation for New Flooring: If you're planning to install new flooring after the removal, professionals can ensure that the subfloor is properly prepared. This might include leveling, smoothing, or making any necessary repairs to create a suitable surface for the new flooring.
- Time and Effort Savings: Flooring removal can be a time-consuming and physically demanding task. Hiring us for your flooring removal, it allows you to focus on other important matters while they handle the labor-intensive work.
- Cost-Effectiveness: It can ultimately be cost-effective when you consider the potential damage, mistakes, and extra supplies that might be needed if you attempt the removal yourself.
- Quality Results: Flooring removal professionals are trained to deliver high-quality results. This includes ensuring that the subfloor is properly prepared, minimizing uneven surfaces, and providing a clean and debris-free area for the next phase of your project.
- Peace of Mind: Knowing that the job is being handled by experienced professionals can provide peace of mind, knowing that the process will be done correctly and efficiently.
Hiring Surface Removal Systems as your flooring removal professional can save you time, effort, and potential headaches. Our expertise, efficiency, and commitment to safety can ensure that the flooring removal process is smooth and successful, setting the stage for the next steps in your home improvement project.

The process of flooring removal involves the systematic removal of an existing floor covering, whether it's carpet, hardwood, vinyl, tile, or any other type of flooring material. The specific steps can vary depending on the type of flooring you're removing, but here's a general outline of the process:
Prepare the Area: Clear the room of furniture and other obstacles to create a safe and unobstructed work area. Use plastic sheeting to protect adjacent surfaces and belongings from dust and debris.
Gather Tools and Safety Equipment: Depending on the type of flooring, you'll need various tools such as utility knives, pry bars, hammers, floor scrapers, gloves, safety goggles, dust masks, knee pads, and potentially a respirator if working with materials that produce harmful dust or fumes.
Remove Baseboards and Trim: Carefully remove the baseboards, moldings, and any other trim that's installed around the edges of the room. This will make it easier to access and remove the flooring.
Starting the Removal:
Carpet: If you're removing carpet, start by cutting the carpet into manageable sections using a utility knife. Use a pry bar or pliers to lift the edges, then start pulling it up, rolling it as you go.
Hardwood: For hardwood flooring, remove any visible nails or staples using a hammer and pliers. Use a pry bar or floor scraper to gently lift the boards from the subfloor. If they're tongue-and-groove, you may need to gently tap them to separate the pieces.
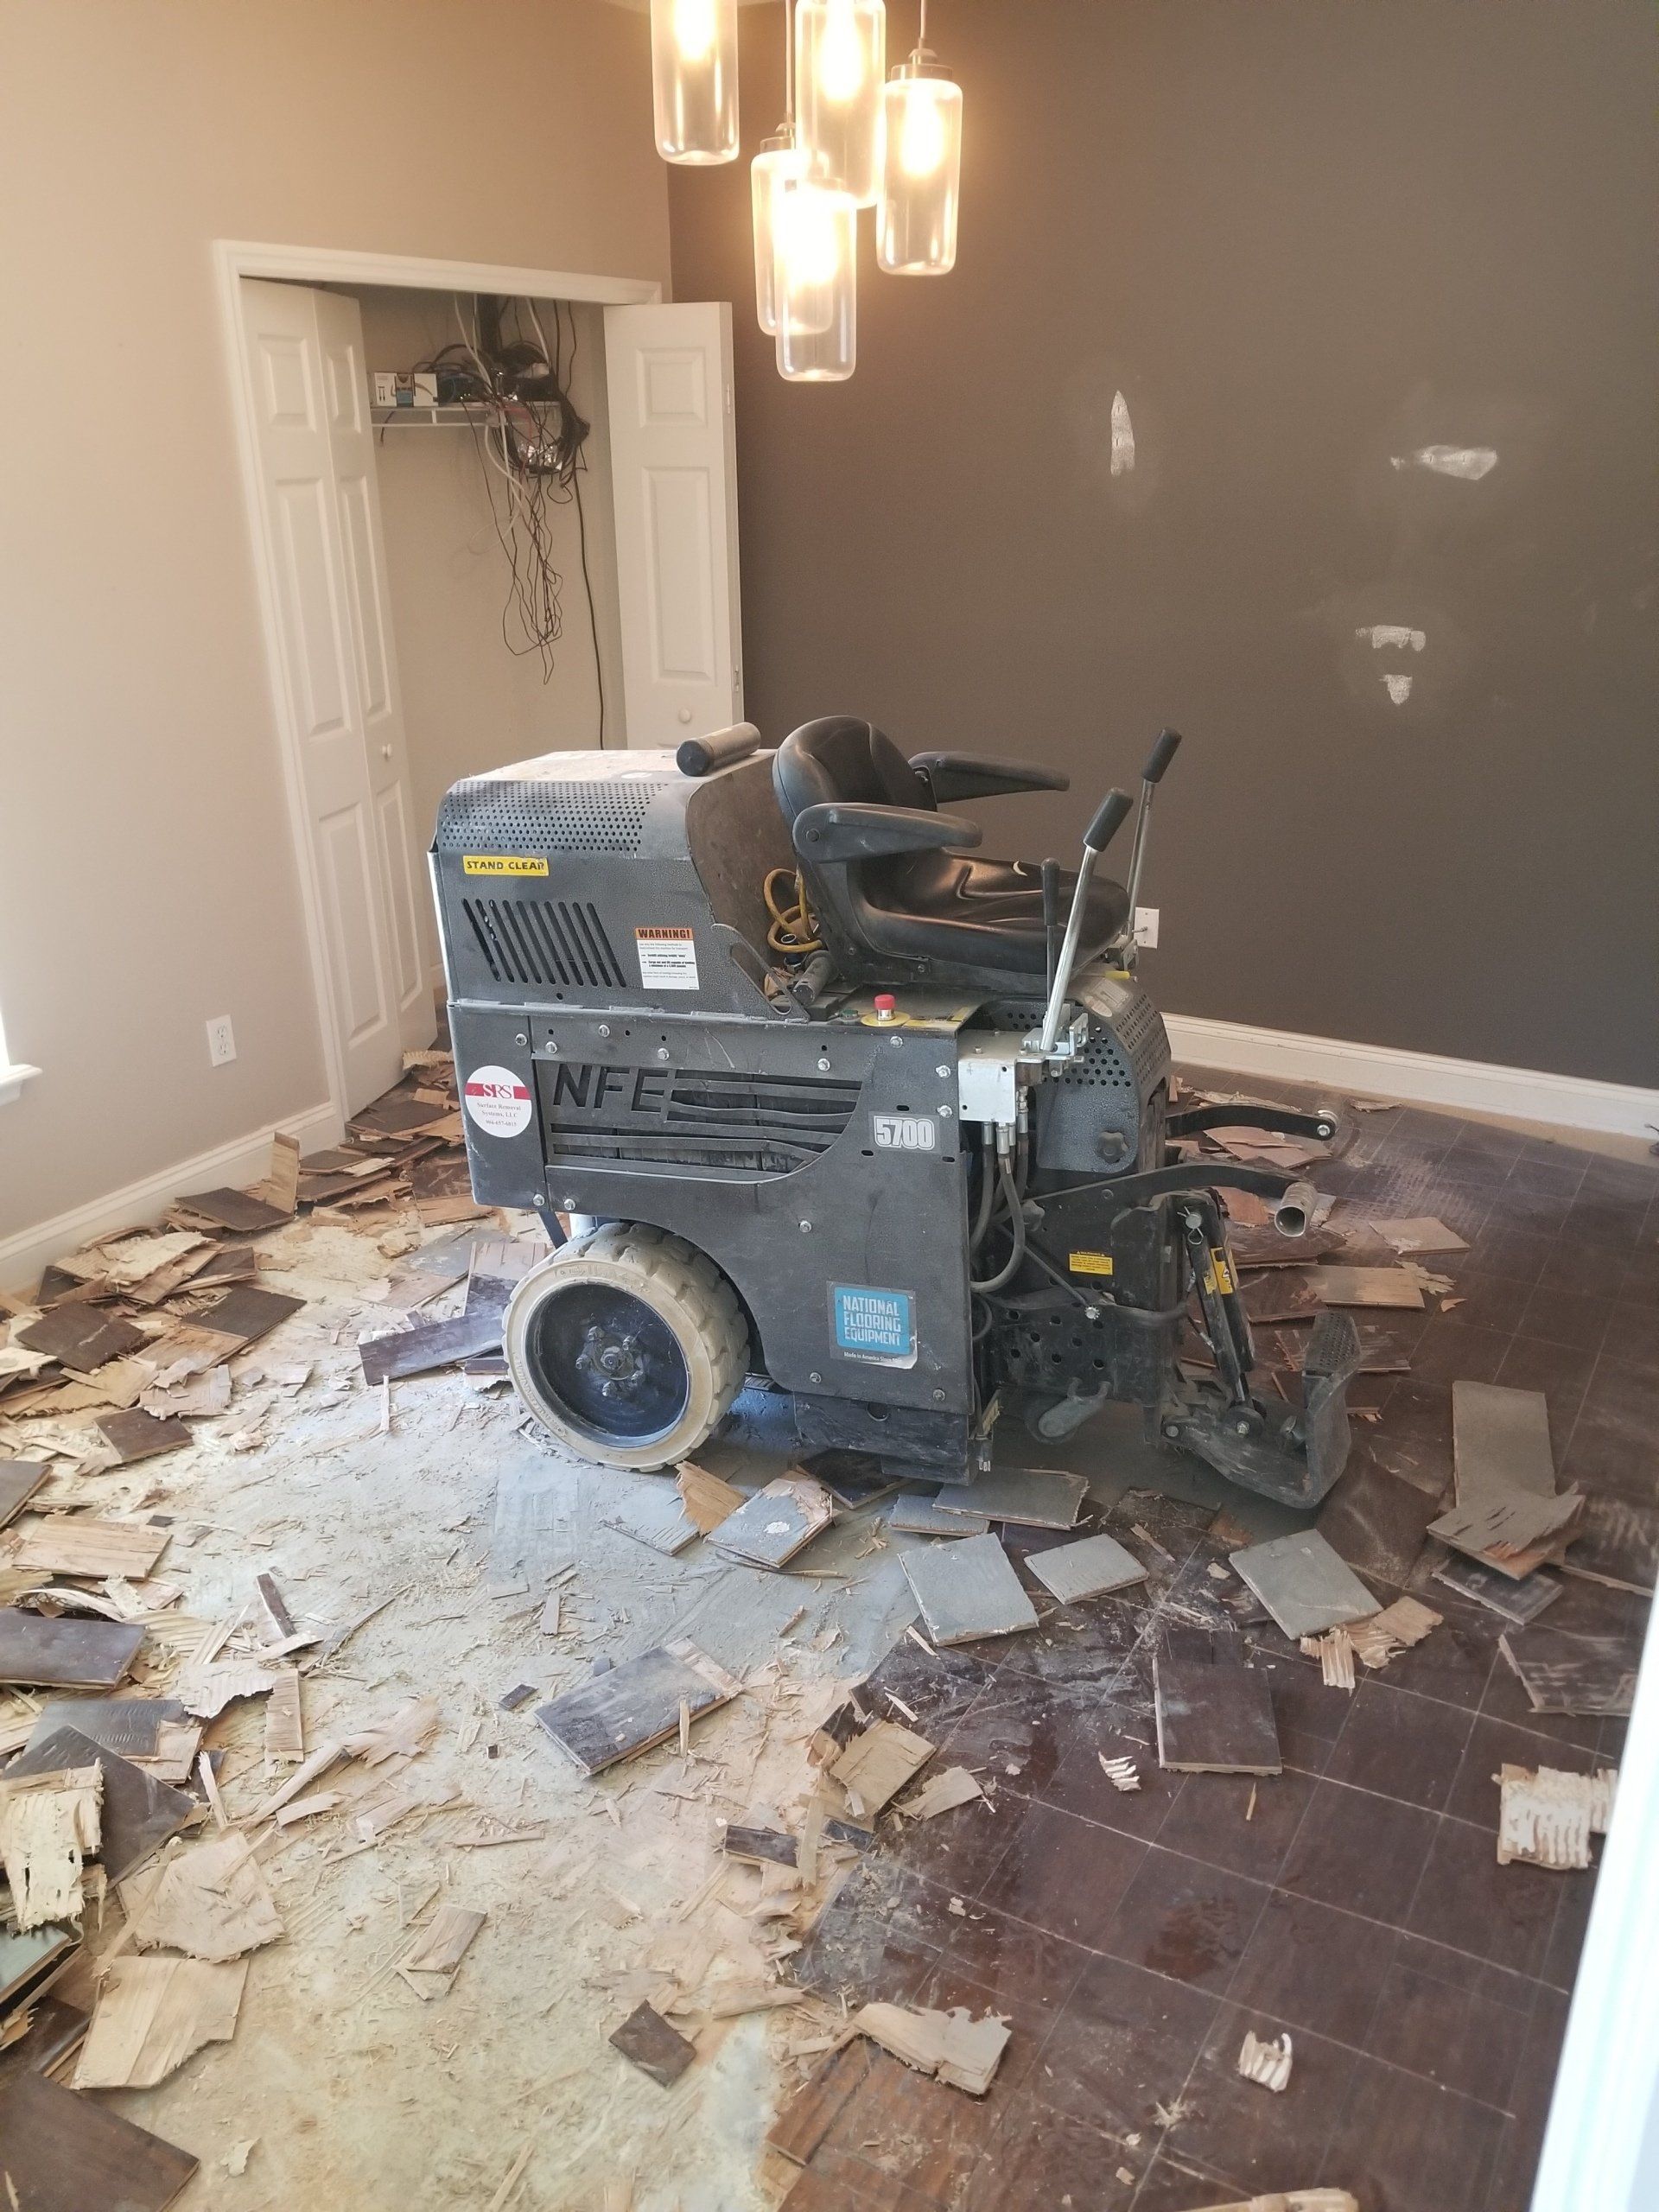
Tile or Vinyl: If you're removing tile or vinyl flooring, start by removing any trim pieces. Use a hammer and chisel to break a tile near the edge, then use the chisel to pry up the remaining tiles. For vinyl, use a heat gun or a hairdryer to soften the adhesive and make it easier to lift the vinyl sheets.
Dispose of the Flooring: As you remove the flooring material, place it in appropriate disposal containers or bags. Different materials may require different disposal methods. For example, carpet can usually be rolled up and disposed of, while certain flooring materials might need to be taken to a hazardous waste facility.
Remove Adhesive or Subfloor Preparation: Depending on the type of flooring and the adhesive used, you might need to remove residual adhesive from the subfloor. This can involve scraping, sanding, or using adhesive removers. Ensure the subfloor is clean and smooth before installing new flooring.
Clean Up: After all the old flooring material and debris have been removed, thoroughly clean the area. Vacuum or sweep to remove any remaining dust and debris.
Inspect Subfloor: Take a close look at the subfloor to ensure it's in good condition. Repair any damage or replace sections if necessary before installing new flooring.
Install New Flooring (Optional): If you're planning to install new flooring, follow the manufacturer's instructions for installation. This can involve laying underlayment, aligning tiles or planks, applying adhesive, and securing the new flooring in place.
Remember that the specifics of the process can vary based on the type of flooring you're removing and the tools and materials you're working with. Additionally, safety should always be a priority, so make sure to wear appropriate personal protective equipment (PPE) and work carefully to avoid injury.
CALL US TODAY! 904-657-6815
BROWSE OUR WEBSITE
CONTACT INFORMATION
- Mon - Fri
- -
- Saturday
- -
- Sunday
- Closed


we can now accept all major credit cards